Student Management
Documentation
The Students page in TutorsFlow enables tutors to efficiently add, manage, and generate reports for students. This page provides insights such as total student counts, student lists, and available actions for selected students, including attendance reporting and more.
Navigation
At the top of the page, you will find a navigation bar (see image). The left arrow allows you to navigate back, while the plus (+) icon is used to add a new student, as described in the “Add New Student” section below.

Add new Student
To add a new student, click the plus (+) button located at the top right corner. This will open the Add New Student form. Fill in the required details and assign a class to the student using the “Select Class” dropdown menu. Ensure all information is accurate before saving.

Student Counter
Next to the navigation bar, there is a counter box displaying the total number of students. This includes both active and inactive students, helping you quickly assess the current student count for your institution.

Search Bar
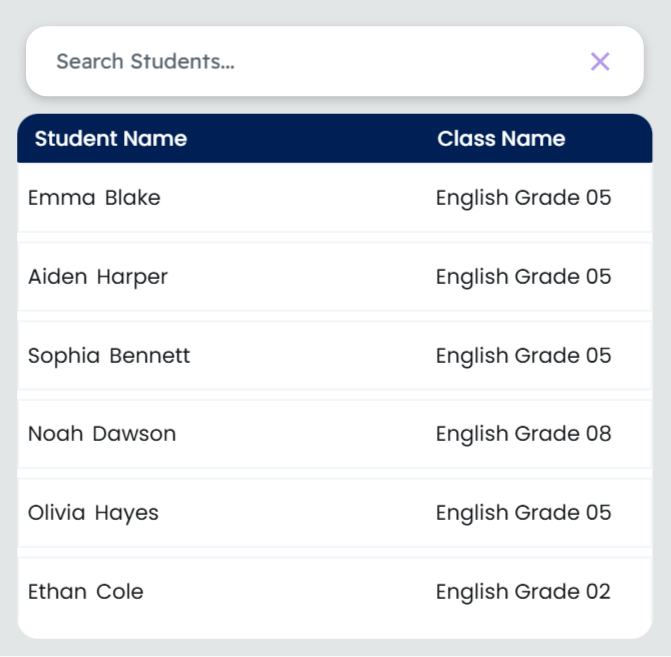
The search bar allows you to locate specific students easily. The student list below the search bar displays the student’s name and their assigned class.
Student Details and Action Bar
When you click on a student’s name, their basic details and a QR code will appear, along with the Action Bar. The Action Bar provides the following options:
- Active/Inactive Indicator: A green indicator shows the student is active, while a red indicator shows they are inactive.

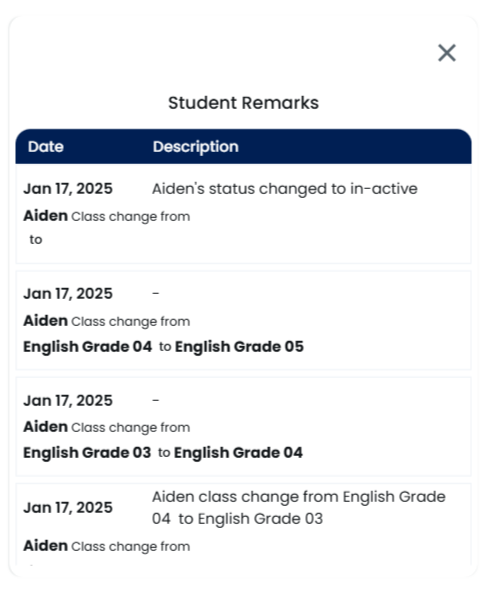
2. Student Remarks: Displays a log of actions performed for the student, such as status changes or class updates.
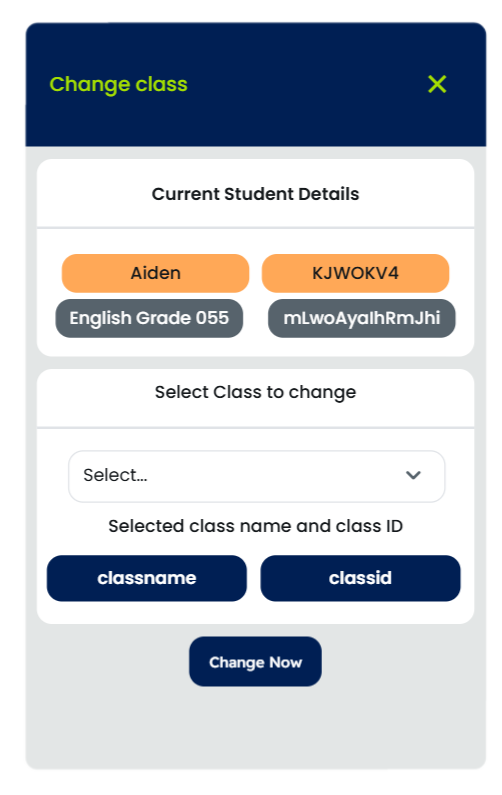
3. Change Class: Opens a form where you can reassign the student to a different class. This includes viewing current and selected class details (class name and ID). Click the “Change Now” button to confirm the update. A remark will be automatically added to the student’s log.
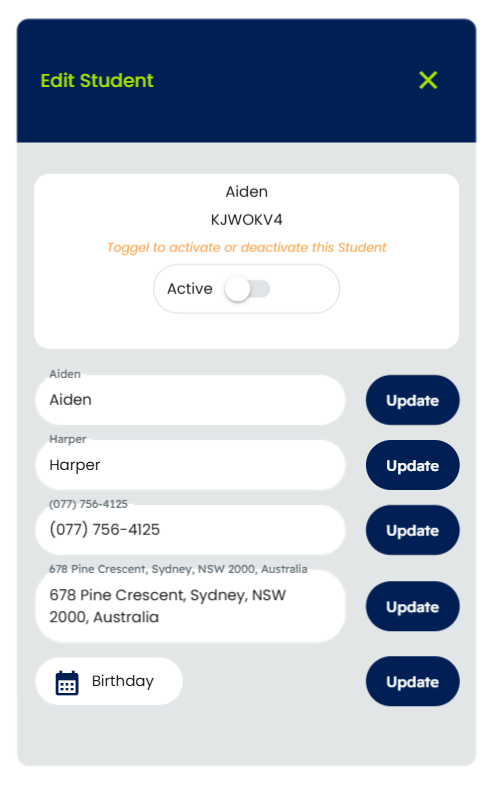
4. Edit Student: Allows you to update student details such as first name, last name, phone number, address, and birthday. A toggle button lets you set the student’s status to active or inactive.
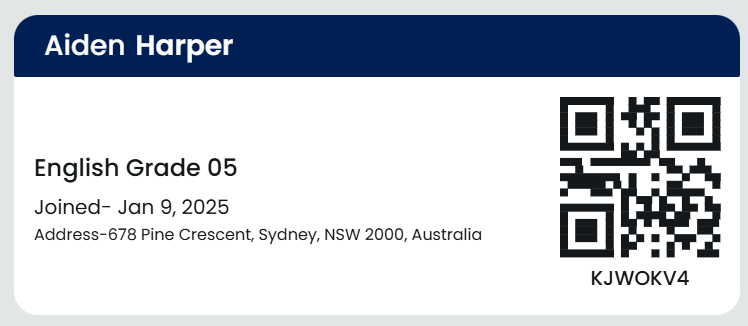
5. Print: Opens a printable view of the student’s QR code and details. You can also generate and share the ID in PDF format by clicking the “Get ID” button.

Student Details
Attendance Record
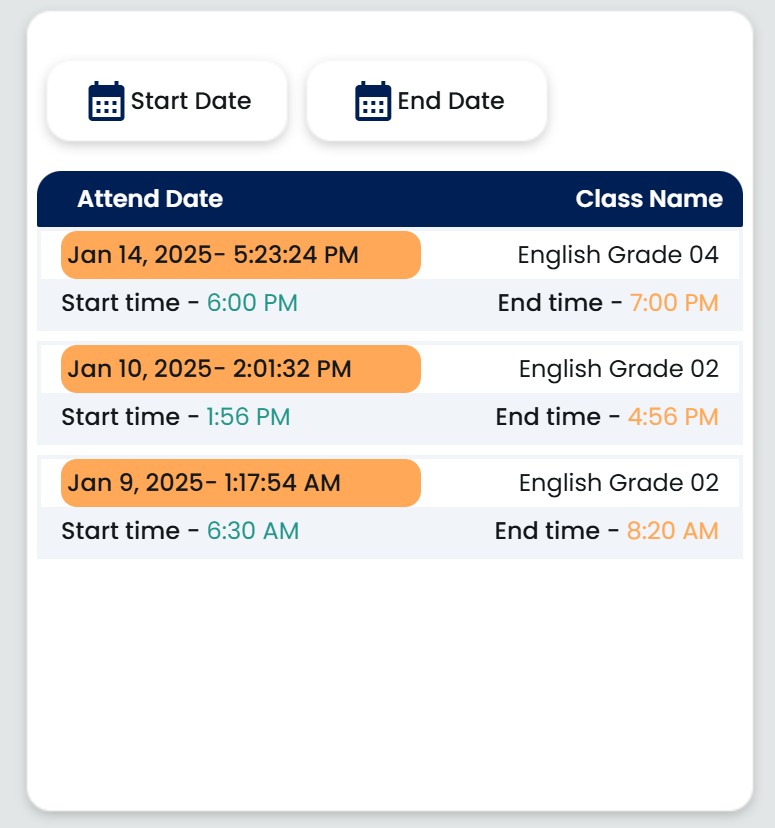
The attendance record section provides detailed information about the student’s attendance. You can filter records by start and end dates. The report includes:
- Attendance date and time
- Class name
- Class start and end times
