The Class page in TutorsFlow enables users to add and manage classes, record class-related data, and generate reports. These reports include total student counts for specific classes, session details (e.g., total session count, session summaries, attendance), and more.
Navigation
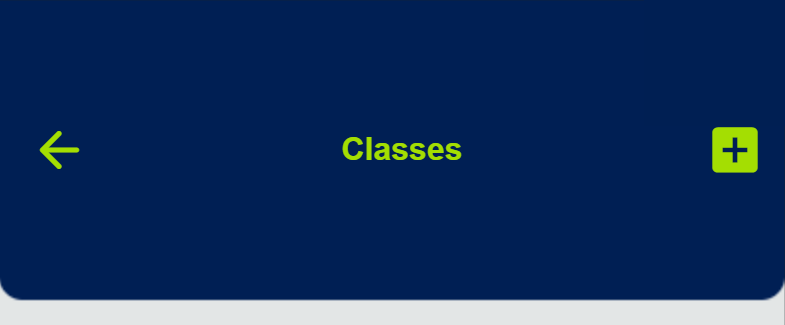
You will find a navigation bar at the top of the page (see image). The left arrow allows you to navigate back, while the plus (+) icon is used to add a new class, as described in the “Add a New Class” section below.
Add a new class
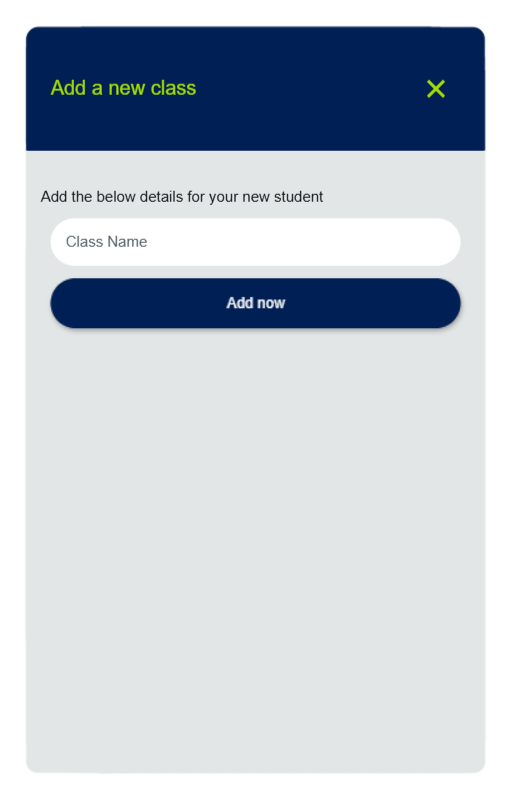
To add a new class, click the plus (+) button located at the top right corner. This will open the Add Class form. Provide a unique name for the class and click the “Add Now” button to save it.
Note: Avoid adding duplicate class names.
Class counter
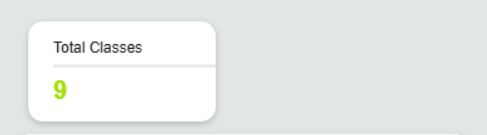
The top section of the page includes a counter box that displays the total number of classes you have added.
Search Bar and class list
The search bar helps you locate specific classes within your institute. When you click on a class name from the class list or search results, the Class Details Box updates with the relevant data for the selected class.
Class details box
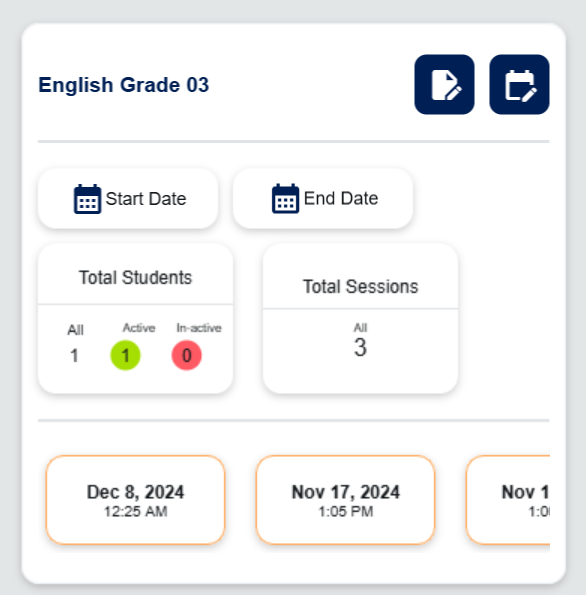
The Class Details Box provides the following information:
Selected Class Name: Displayed prominently at the top.
Action Bar: Contains various options for managing the class.
Student Counts: Includes total students, active students, and inactive students for the selected class. These counts can be filtered by specific date ranges using the date selection tool.
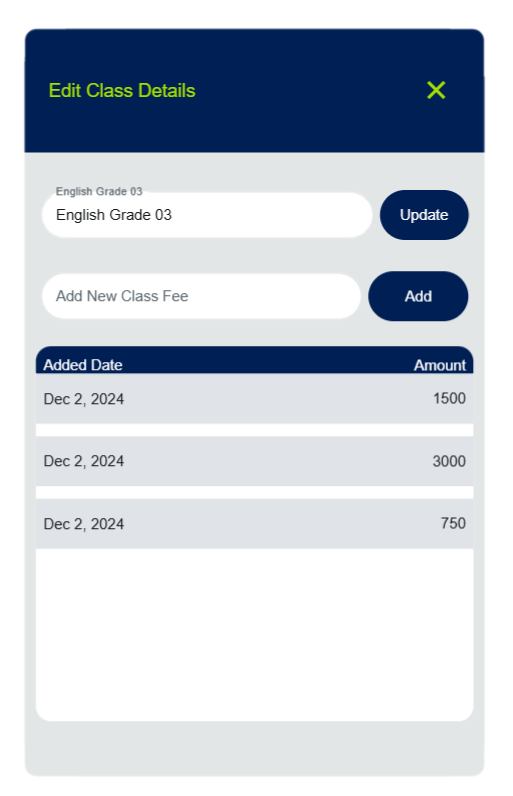
Edit class
The first button on the action bar opens the Edit Class page. Here, you can:
Update the class name.
Add a class fee amount.
You can add multiple fee amounts, allowing for future updates. However, at least one fee amount is required to record payments via QR code or the web dashboard.
Note: Once added, class fee amounts cannot be changed or deleted.
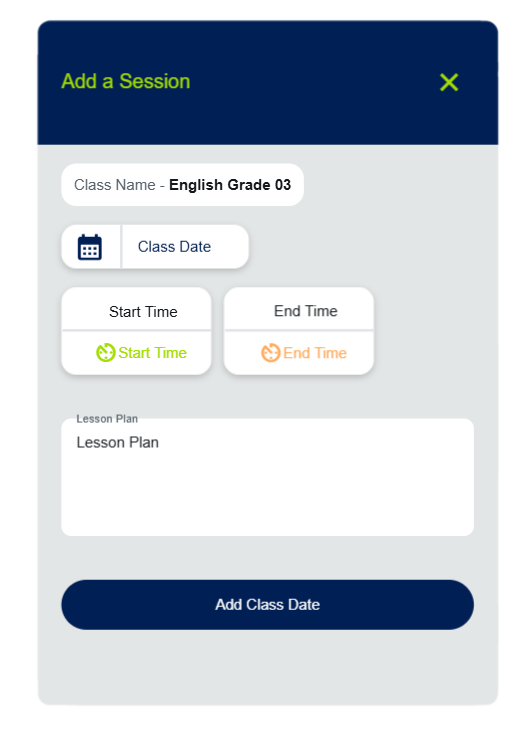
Add class sessions
The next button on the action bar allows you to add class sessions.
To create a session, provide the following details:
Session date
Session start time
Session end time
(Optional) Lesson plan
Once a session is added, it will appear on the Class Sessions list, as described below.
Class sessions
The Class Sessions section displays a horizontally scrollable list of sessions, showing session dates and times.
Sessions with a green border indicate current or future sessions.
Sessions with an orange border indicate past sessions.
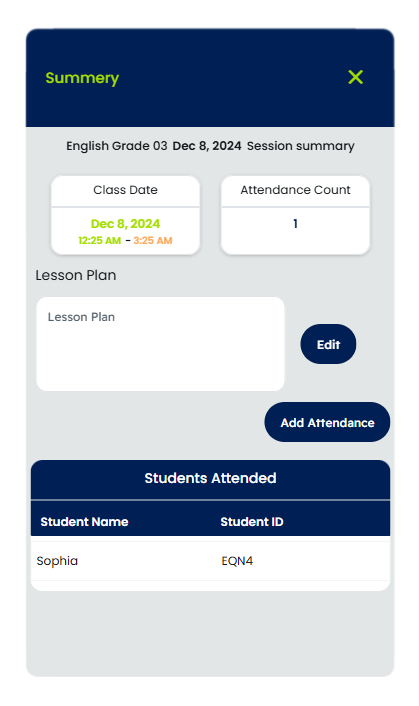
Class sessions Summery
Clicking on a session opens a summary with the following details:
Class name and date
Session start and end times
Attendance count for the session
Lesson plan (if added during session creation). The lesson plan can also be edited here.
Add attendance to a session
If a student fails to mark attendance for a session, you can manually add it:
Select the session.
Click the “Add Attendance” button.
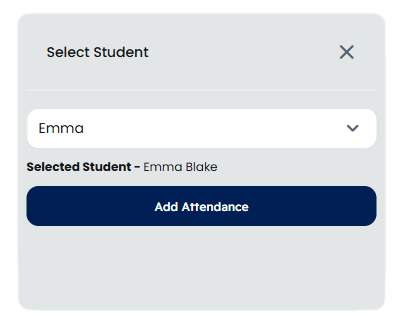
A new card will appear with a dropdown to select the student.
Choose the student and click the “Add Attendance” button.
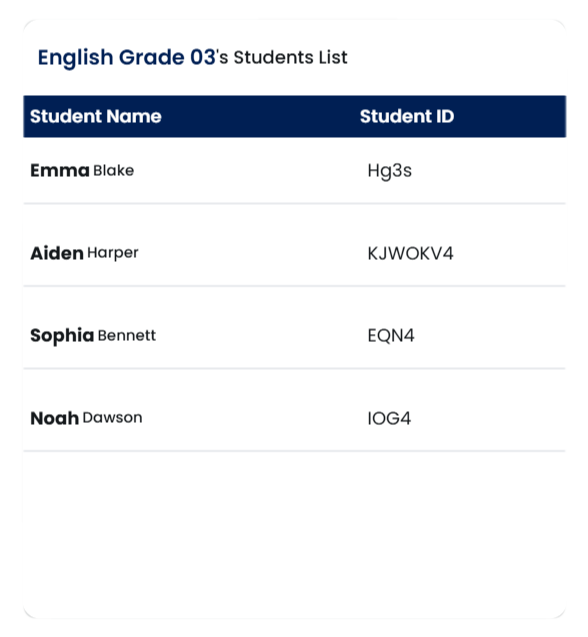
Class Student List
Below the Class Details Box, you will find a list of students belonging to the selected class. This list displays: